To put a snap button on without a tool, you only need your hands and a few simple steps. First, position the snap components on the fabric where you want them. Then, press down firmly and twist the pieces together until they snap into place securely. No special tools required – just your own hands and a bit of patience. Ready to learn the quick and easy method for putting a snap button on without a tool? Let’s dive in!

How to Put a Snap Button on Without a Tool
Introduction
In this guide, we will show you an easy and convenient way to put a snap button on without the need for any special tools. Snap buttons are versatile fasteners commonly used in clothing, bags, and other items that need to be opened and closed frequently. By following these simple steps, you can quickly attach snap buttons to your projects with just a few basic materials.
Materials Needed
Before we begin, let’s gather the materials you’ll need for this DIY project:
Materials:
– Snap buttons
– Fabric or item to attach the snap buttons to
– Needle
– Thread
– Scissors
Step-by-Step Guide
Step 1: Prepare Your Fabric
The first step is to prepare the fabric or item where you want to attach the snap button. Make sure the fabric is clean and flat, with no wrinkles or folds that could interfere with the placement of the snap button.
Step 2: Position the Snap Button
Next, decide where you want to place the snap button on your fabric. Mark the center of the button’s position with a small pencil mark or pin to ensure you attach it accurately.
Step 3: Sew the Button Base
Thread your needle with a suitable color of thread that matches your fabric. Start sewing the snap button base onto the fabric by making small stitches around the edges of the button. Ensure the button is securely attached by sewing it multiple times with tight stitches.
Step 4: Attach the Button Cap
Once the base is securely sewn onto the fabric, it’s time to attach the button cap. Align the cap with the base and sew around the edges to secure it in place. Make sure the button cap is centered and sits flush against the base.
Step 5: Secure the Snap Button
To ensure the snap button is firmly attached, sew around the button cap multiple times with tight stitches. This extra reinforcement will help prevent the snap button from coming loose during use.
Tips and Tricks
– When choosing snap buttons, consider the size and color that best match your fabric to achieve a professional finish.
– Practice sewing snap buttons on scrap fabric before attaching them to your final project to perfect your technique.
– If you’re having trouble sewing the snap button by hand, you can use a thimble to protect your fingers and make pushing the needle through the fabric easier.
Putting a snap button on without a tool is a fun and practical DIY skill that can come in handy for various projects. By following the steps outlined in this guide and practicing your technique, you’ll be able to confidently attach snap buttons to your creations without the need for specialized tools. Get creative and experiment with different snap button styles to add a personalized touch to your clothing and accessories!
Installing Snaps at Home (without Special Tools)
Frequently Asked Questions
How can I attach a snap button without using a tool?
To attach a snap button without a tool, you can use a hammer and a hard surface, such as a sturdy table. Place the bottom part of the snap button on the fabric, then position the top part over it. Hold the snap parts in place and carefully tap them with the hammer until the snaps are securely connected.
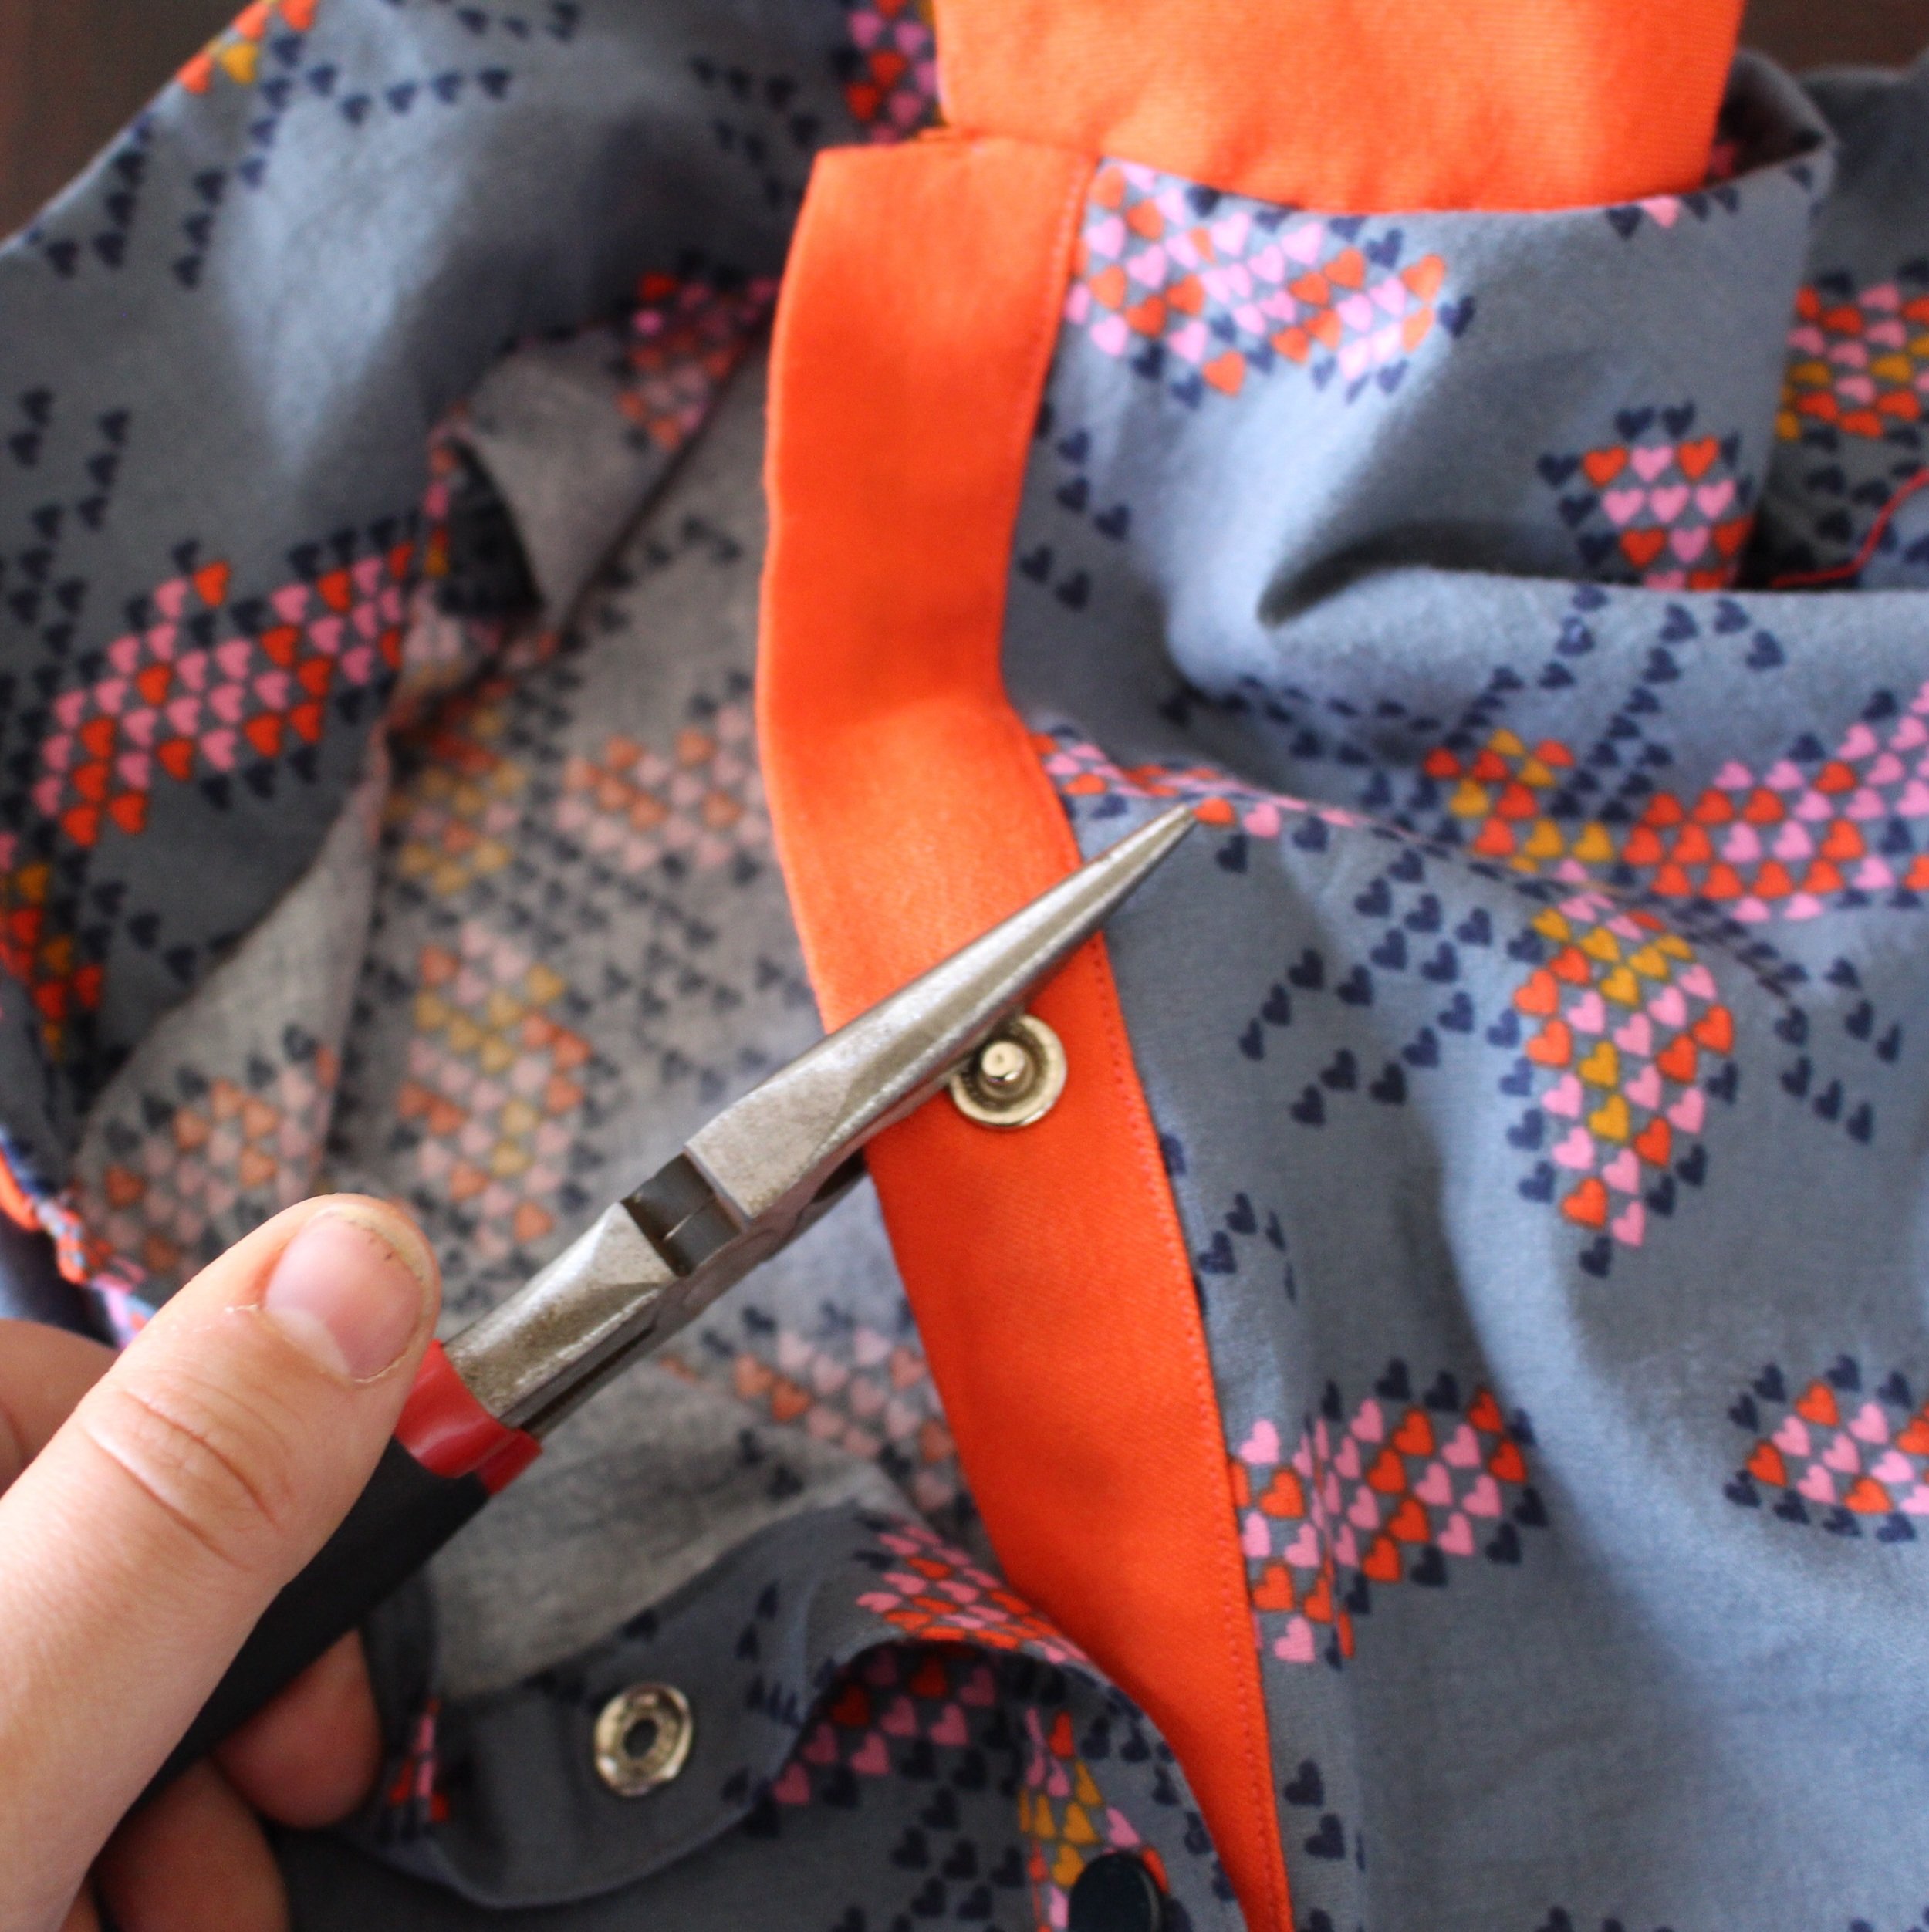
What alternative method can be used to secure a snap button without a specialized tool?
If you don’t have a snap tool, you can use a pair of pliers to attach a snap button. Simply place the snap components on the fabric, grip them firmly with the pliers, and press down to secure the snap in place. Be cautious not to break the snap button or damage the fabric with excessive force.
Can I use a DIY solution to put a snap button on without a tool?
Yes, you can create a makeshift tool using a flathead screwdriver and a small coin. Position the snap button components on the fabric and place the coin under the bottom part. Then, use the screwdriver to press down on the top part of the snap button until it connects with the bottom part securely.
Final Thoughts
To put a snap button on without a tool, follow these simple steps: insert one side of the button into the fabric, then press the other side firmly until it snaps into place. This method is quick, easy, and requires no special tools. By using your hands to secure the snap button, you can effortlessly add a professional finish to your garments. Master the art of how to put a snap button on without a tool and elevate your sewing projects.