
To fix your Keurig, start by descaling the machine. Use a vinegar-water solution to remove mineral buildup. Run a few brewing cycles to ensure it’s clean. If the problem persists, troubleshoot the power source or consider contacting customer support. Enjoy your favorite coffee hassle-free once your Keurig is back to its optimal performance.

How to Fix My Keurig: The Ultimate Guide to Resolving Common Keurig Issues
Welcome to our comprehensive guide on how to fix your Keurig coffee maker! If you’re experiencing issues with your Keurig machine, fret not, as we’re here to troubleshoot and help you get your coffee flowing smoothly again. Keurig machines are popular for their convenience and ease of use, but like any appliance, they can encounter problems from time to time. Follow along as we delve into common Keurig issues and provide simple solutions to fix them.
1. Keurig Not Powering On
If your Keurig is not turning on, the first thing to check is the power source. Make sure the machine is plugged in properly and try using a different outlet to rule out any electrical issues. If the power source is not the problem, inspect the power cord for any damage or loose connections. In some cases, a simple fix like replacing the power cord can get your Keurig up and running again.
Check the Power Button
Another common reason for a Keurig not powering on is a faulty power button. Over time, the power button may become stuck or unresponsive. To fix this issue, gently clean around the power button with a small brush or cotton swab to remove any debris that may be obstructing it. If cleaning doesn’t work, you may need to replace the power button mechanism.
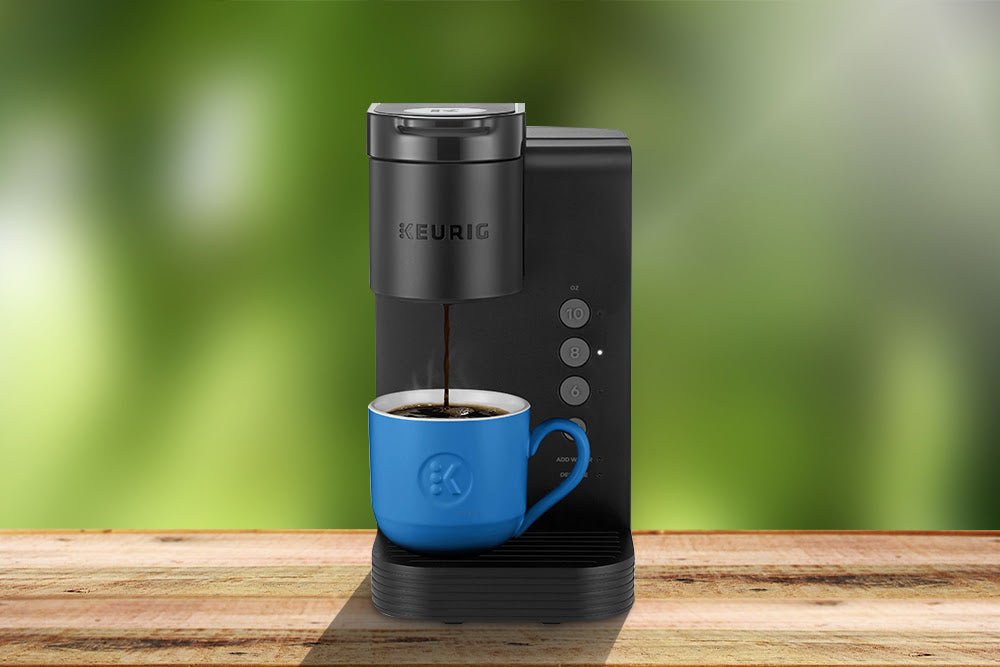
2. Keurig Not Brewing Properly
Are you finding that your Keurig is not brewing a full cup of coffee or that the coffee tastes weak? This issue could be due to a variety of reasons, such as clogged needles, improper settings, or a need for descaling.
Check for Clogs in the Needles
One common reason for a weak brew is clogged needles in the Keurig. The needles pierce the K-Cup to allow water to flow through and brew coffee. Over time, coffee grounds and debris can accumulate in these needles, obstructing the flow of water. To fix this issue, use a paperclip or a needle cleaning tool to unclog the needles gently. Be sure to turn off and unplug your Keurig before attempting this.
Adjust Brew Strength Settings
If your coffee tastes weak, check the brew strength settings on your Keurig. Some models allow you to adjust the brew strength to suit your preference. Experiment with different strength settings to find the perfect balance for your taste buds.
Descaling Your Keurig
Descaling is an essential maintenance task to keep your Keurig running smoothly. Over time, mineral deposits from water can build up inside the machine, affecting the brewing process. To descale your Keurig, use a descaling solution or a mixture of vinegar and water to clean the internal components. Follow the manufacturer’s instructions for descaling your specific Keurig model.
3. Keurig Leaking Water
Leaking water is a common issue with Keurig machines and can be caused by various factors, including a faulty water reservoir, loose components, or a clog in the brewer.
Check the Water Reservoir
If your Keurig is leaking water, inspect the water reservoir for cracks or damage. A damaged water reservoir can cause leaks and impact the brewing process. Replace the water reservoir if you notice any signs of damage to resolve the issue.
Tighten Loose Components
Loose components within the Keurig can also lead to water leaks. Check the different parts of the machine, such as the drip tray, brewer head, and water filter assembly, to ensure they are securely in place. Tighten any loose components to prevent water leakage during brewing.
Clear Brew Needle Clogs
In some cases, water leaks can occur due to clogs in the brew needles. Follow the steps mentioned earlier to unclog the needles and ensure smooth water flow during the brewing process. Regular maintenance can help prevent clogs and leaks in your Keurig machine.
4. Keurig Displaying Error Message
If your Keurig is displaying an error message on the screen, it can be frustrating but usually indicates a specific issue that needs attention.
Refer to the User Manual
When you encounter an error message on your Keurig, the first step is to refer to the user manual that came with your machine. The manual often contains a troubleshooting guide that can help you identify the error code and the recommended solution. Follow the steps outlined in the manual to address the error message effectively.
Perform a Reset
Sometimes, a simple reset can resolve error messages on your Keurig. Unplug the machine, wait for a few minutes, and then plug it back in to see if the error message disappears. Resetting the machine can help clear temporary glitches and restore normal operation.
5. Keurig Producing Strange Noises
If your Keurig is making unusual noises during operation, it could be an indication of underlying issues that need attention.
Clean and Descale Your Keurig
Noises like gurgling or grinding can be a sign of mineral buildup or clogs within the machine. Regular cleaning and descaling can help eliminate these noises and keep your Keurig running quietly. Follow the recommended maintenance schedule for descaling and cleaning to prevent strange noises in the future.
Inspect Internal Components
If cleaning and descaling don’t resolve the noise issue, consider inspecting the internal components of your Keurig. Loose parts or worn-out components can cause rattling or vibrating noises during operation. Contact Keurig customer support for further assistance if you suspect internal issues with your machine.
By following the tips and solutions outlined in this guide, you can troubleshoot common Keurig issues and enjoy your favorite coffee without interruptions. Remember to perform regular maintenance tasks and take care of your Keurig to ensure its longevity and optimal performance. If you encounter persistent problems that you can’t fix on your own, don’t hesitate to seek professional help or contact Keurig customer support for assistance.
We hope this guide has been helpful in addressing the question of how to fix your Keurig, and we wish you many delightful cups of coffee from your revamped machine!
How to Fix ● KEURIG Coffee Maker that Stopped or Slow Brewing
Frequently Asked Questions
Why is my Keurig not brewing coffee?
If your Keurig is not brewing coffee, it could be due to a clogged water line, mineral build-up, or a malfunctioning pump. To fix this issue, try descaling your Keurig, cleaning the water reservoir, and ensuring the water line is clear of any blockages. You can also try running a cycle without a K-cup to flush out any debris.
How do I descale my Keurig machine?
To descale your Keurig machine, you can use a descaling solution or a mixture of water and vinegar. Follow the manufacturer’s instructions for your specific model. Typically, you will run a descaling cycle using the solution, then rinse the machine with water to remove any residue. Regular descaling helps remove mineral deposits and keeps your Keurig functioning properly.
What should I do if my Keurig is leaking water?
If your Keurig is leaking water, it may be due to a faulty seal, a crack in the water reservoir, or a problem with the internal components. Check the water reservoir and all connections to ensure everything is secure and undamaged. If the issue persists, contact Keurig customer support for further assistance or consider taking it to a professional for repair.
Final Thoughts
If your Keurig is not functioning properly, several troubleshooting steps can help. Firstly, descale the machine to remove mineral buildup that may be causing issues. Secondly, ensure the water reservoir is properly seated and filled. Lastly, try cleaning the needle that punctures the K-cups to ensure it is clear of any blockages. By following these steps, you can easily fix your Keurig and enjoy your favorite brews again.